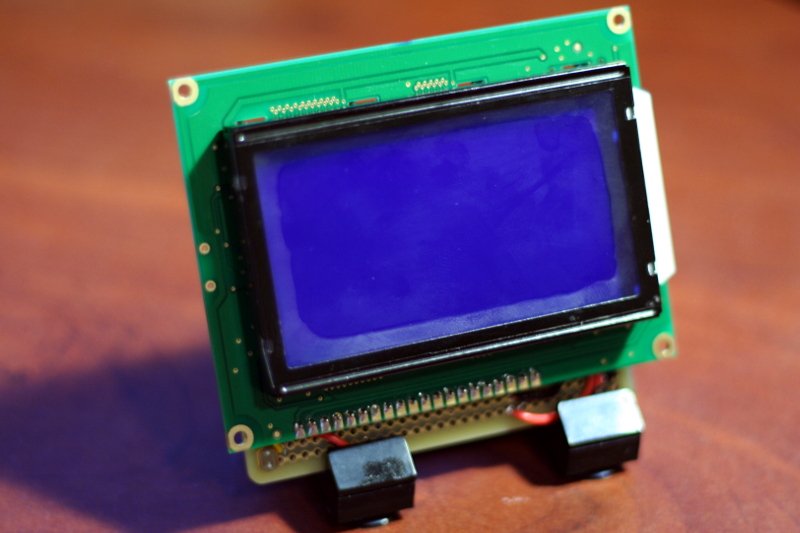
Finally up and running!
Last year, I bought a used Mac Mini with the intention of transforming it into a Linux file and print server for my home LAN. It has been a resounding success, satisfying all of my requirements with essentially 100% uptime and no major hiccups. After the initial configuration, it’s been running without a keyboard/mouse/display, and I’ve just been logging in via SSH to take care of administrative tasks, such as applying updates. And while this works famously, it would still be nice to have some at-a-glance information on the overall health of the server. Enter the Trinket. I saw Hack-a-Day selling their spiffy version of Adafruit’s Pro Trinkets, and picked one up with no particular purpose in mind. Once I had the idea for this project, however, I figured the Trinket would be perfect, so I nabbed a 128×64 LCD from Adafruit and got to work.
Driving an LCD this size with the 328p that’s on the Trinket should be no problem. And while the Trinket has a micro USB port, it’s only intended for use with Adafruit’s bootloader that comes preinstalled. So it would likely be a challenge to implement a USB stack in firmware that can transport data from the PC to the Trinket and on to the display.
I don’t have the chops for that kind of programming, as I know virtually nil about USB in Linux. But I correctly assumed that someone else on the Internet does, and I found the GLCD2USB project by Till Harbaum. In fact, his project is virtually identical to mine, with the only significant difference being that I’ll be using a Trinket, rather than a discreet AVR. I should, therefore, only need to make minor firmware adjustments to account for a different I/O configuration. The core USB and LCD drivers need not be modified at all. In addition, Harbaum has already written a host-side driver to interface with the LCD4Linux library, which makes the process of fetching data from the PC and formatting it for display on the LCD almost trivial.
Hardware
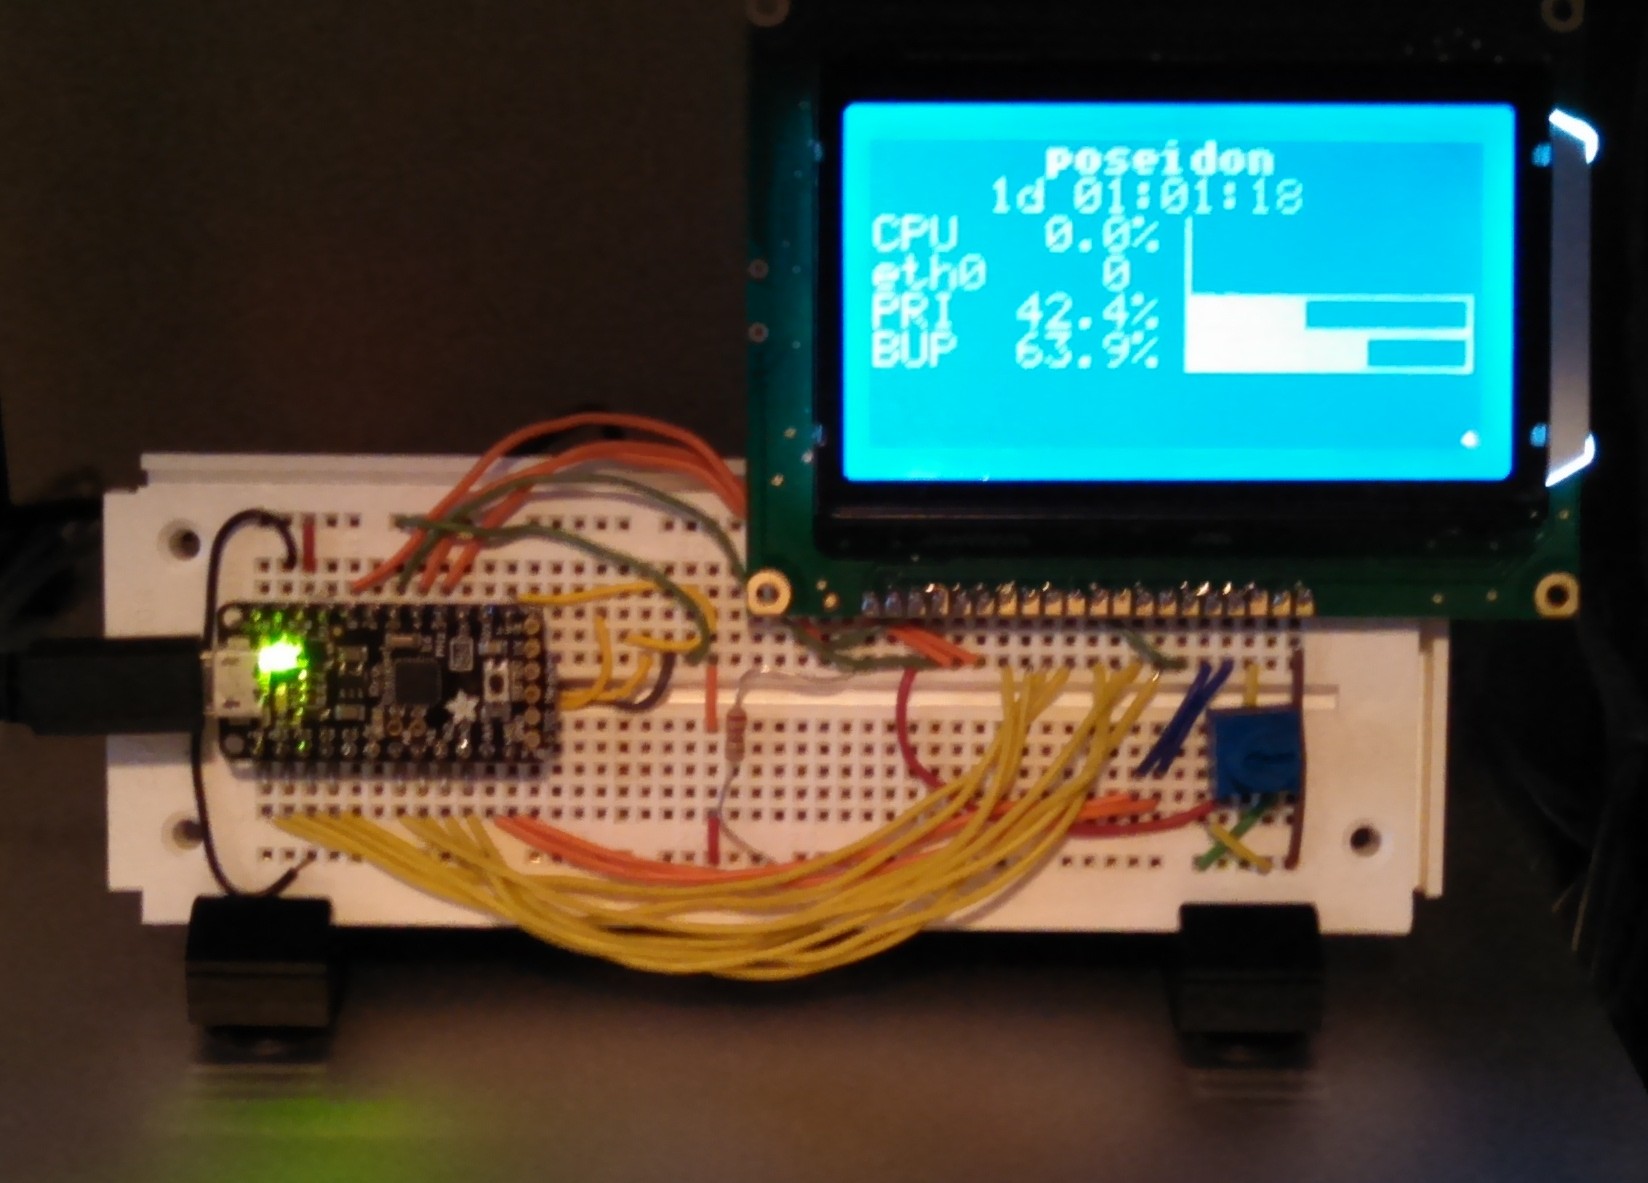
For now, everything is simply breadboarded. Very little intelligence went in to the layout of the breadboard. All I really did was try and make the connections from the Trinket to the LCD as uncomplicated as possible. The catch with the Trinket is that not all of the I/O pins on the AVR are broken out to the header. This, as I will explain in the firmware section, forced me to get creative. I made a simple schematic in KiCad to keep things straight in my head, which I’ve included in the project files below. I also made a simple stand out of LEGO. Because LEGO is awesome.
Firmware
Modifying the firmware turned out to be more complex than I anticipated. Because of the design of the Trinket, it’s not possible to connect the eight data bus lines required by the LCD to a single I/O register in the AVR. Therefore, every byte to be written or read by the AVR must be split across two I/O registers. This required some C macro-fu (which I am particularly proud of) to split the byte into two nibbles, HI and LO, which are then written to or read from two I/O banks.
#define	lcdoutb(reg, data)	\
    GLCD_DATA_ ## reg ## _LO = (GLCD_DATA_ ## reg ## _LO&(~GLCD_DATA_MASK_LO)) | ((data&0x0f)<<GLCD_DATA_OFFSET_LO);	\
    GLCD_DATA_ ## reg ## _HI = (GLCD_DATA_ ## reg ## _HI&(~GLCD_DATA_MASK_HI)) | (((data&0xf0)>>4)<<GLCD_DATA_OFFSET_HI);

#define lcdinb(reg)	\
    ((((reg ## _HI & GLCD_DATA_MASK_HI) >> GLCD_DATA_OFFSET_HI) << 4) | ((reg ## _LO & GLCD_DATA_MASK_LO) >> GLCD_DATA_OFFSET_LO))
In both macros, reg will reference another #define that points to an actual AVR I/O bank (such as PORTC or DDRB). That way, I have consistent nomenclature between all the required I/O registers. For example, to push a byte to the LCD, I simply write lcdoutb(PORT, 0xFF); to set the pins as outputs and lcdoutb(DATA, 0x69); to write the byte to the pins.
Another issue that had me flummoxed for quite awhile was that some things would be appear correctly on the display, while other things would appear garbled. Because it appeared very random, it took a long time to determine that the Trinket was not correctly reading data back from the LCD. I thought, initially, that there must be a problem with my macro (above), but in reality there was a missing line of code in the read function of the LCD driver that strobes the Enable line to the LCD, which loads data onto the LCD’s data bus. One stupid little line of code that cost me countless hours of frustration >:|
Fortunately, the USB code worked straight out of the box. I almost couldn’t believe that such a complex piece of code would work with no fuss! For debugging, however, I found it convenient to disable the USB code and focus solely on the LCD segments.
While the Trinket is designed as an Arduino clone, I didn’t bother with Arduino code or the IDE. I just compiled with trusty AVR-GCC, based on the Makefile provided by Harbaum. To save the trouble of wiring up in-circuit serial programming, however, I left the Adafruit bootloader intact so I could download code through the Trinket’s USB port. Conveniently, the bootloader reveals itself to avrdude as a usbtiny.
$ make clean
$ make
$ avrdude -c usbtiny -p atmega328p -U flash:w:firmware.hex
Im sure it would be a fairly simple matter to include a make program target, but the system above worked just fine so I didn’t bother.
LCD4Linux
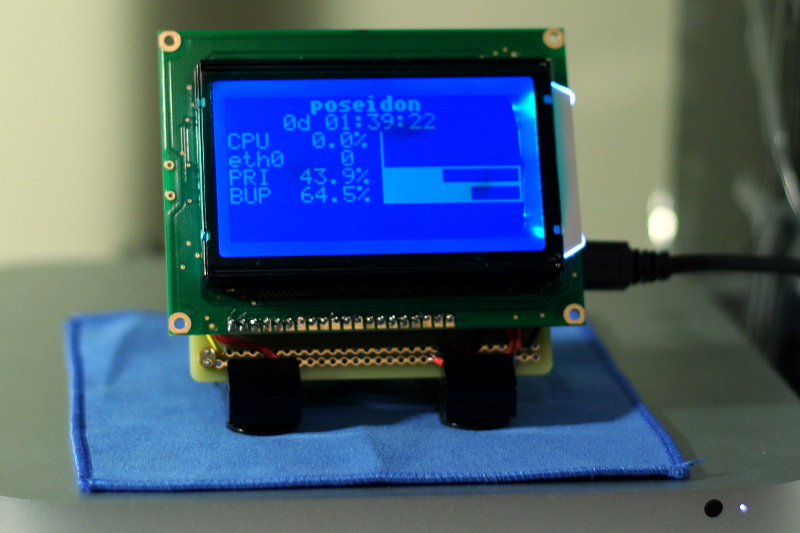
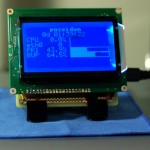
LCD4Linux is a project that combines a library for fetching system and kernel data with a binary that formats and transmits it to a variety of LCD devices. Harbaum included a driver for LCD4Linux compatible with his firmware, so I was able to interface my LCD to the computer almost effortlessly. All I had to to was futz around with lcd4linux.conf, which defines the layout of data on the LCD. Currently, mine shows CPU load, network activity, and the utilization of both my primary and backup disks. Annoyingly, I could not get the plugin which executes external shell commands (plugin_exec.c) to function properly, so I was unable to display the number of users logged in. However, the LCD4Linux wiki recommends writing a separate plugin, rather than relying on running external commands. So that’s something I might address in the future. I’ve included my configuration file below.
If you plan on compiling LCD4Linux yourself, pay close attention to the output of ./configure, as you may be lacking dependencies required to compile all plugins and widgets. In particular, I was missing a library required by widget_image.c, and received no error message until I tried to use the widget in my configuration file.
Download
Here’s a snapshot that includes the firmware, schematic, and lcd4linux.conf. I’ve also included an LCD4Linux binary, but I recommend that you obtain the latest LCD4Linux from SVN and compile it yourself. Harbaum’s driver code is included in the current release.
statscreen_rev2_08mar15.tar
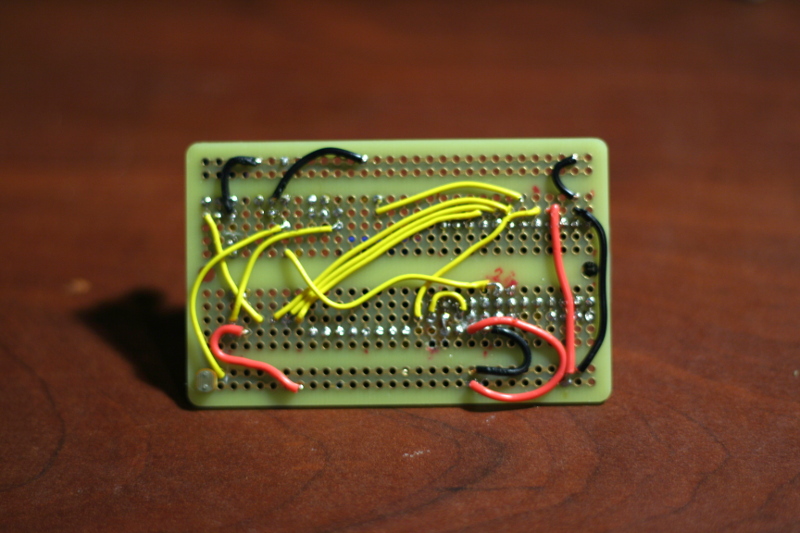
-
- Potato-quality pic of the breadboarded prototype.
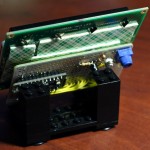
-

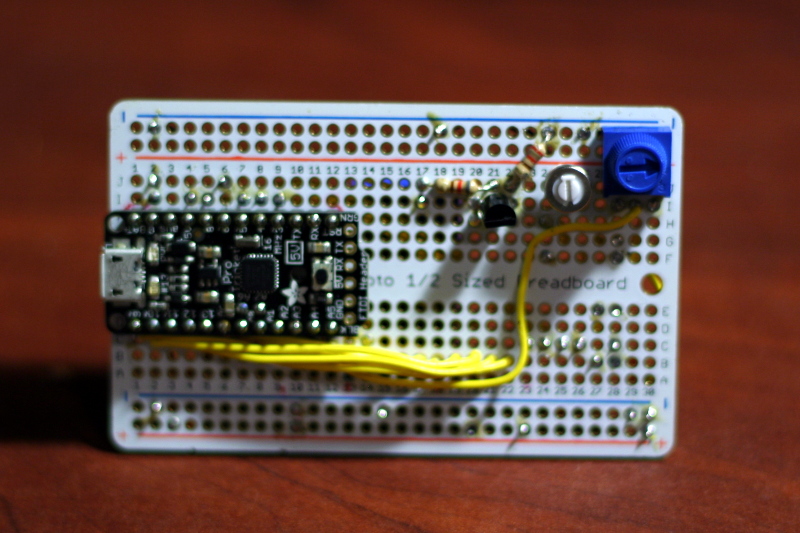
- Everything soldered in except the LCD.
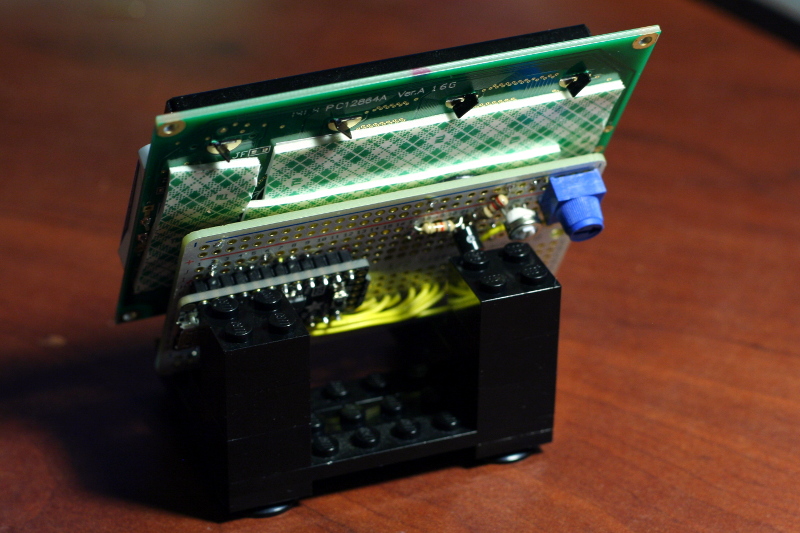
-
- Liberal application of funky foam to insulate the LCD from the proto board.
-
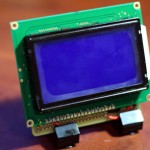
- Still can’t bring myself to remove the protective film.
-
- Finally up and running!